

How to Navigate the Stages of Indoor Seed Starting
Disclosure: I am an affiliate for Amazon and other online retailers. That means that if you use the links on my blog to make purchases, I may get a small percentage of the purchase prices. It never changes the price you pay.
What Exactly Is Involved With Seed Starting?
To have the best experience and success with seed starting it’s helpful to have an overview of all the stages. In this post I share the 7 stages.
Having this knowledge will help you:
- Know the supplies needed
- Know what to expect with each stage so your not caught off guard
- Improved success rates
Let’s Dive right in.
7 Stages of Seed Starting Indoors
I’ve divided the process of indoor seed starting into 7 stages:
- Stage 1 Preparing Supplies
- Stage 2 Planting the Seeds
- Stage 3 Germination
- Stage 4 Initial Growth
- Stage 5 Potting Up
- Stage 6 Hardening Off
- Stage 7 Planting Out
Stage 1-Preparing Supplies
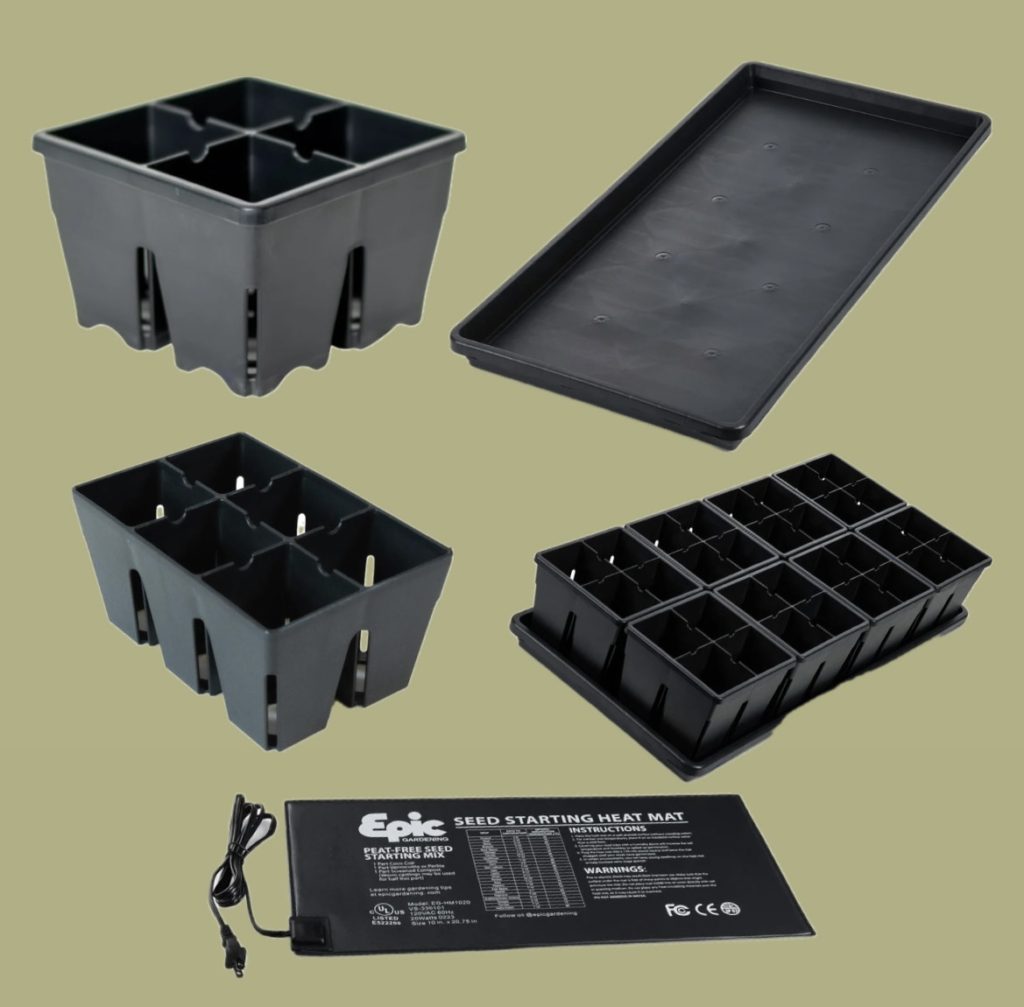
Gather the following supplies:
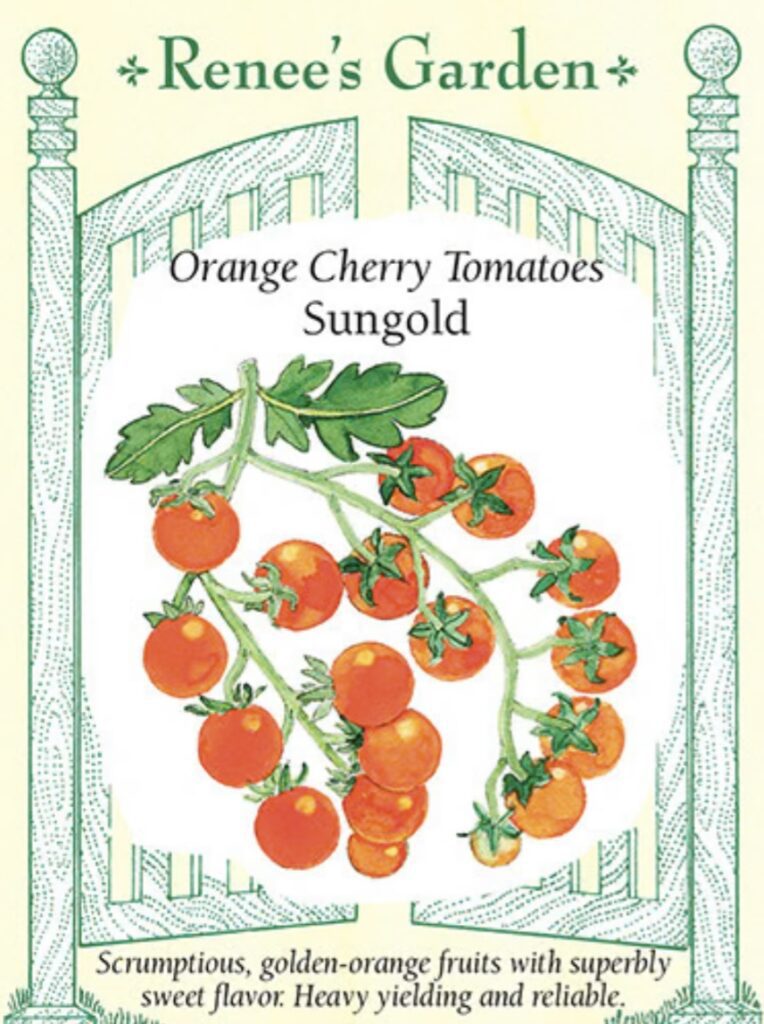
- seeds of choice
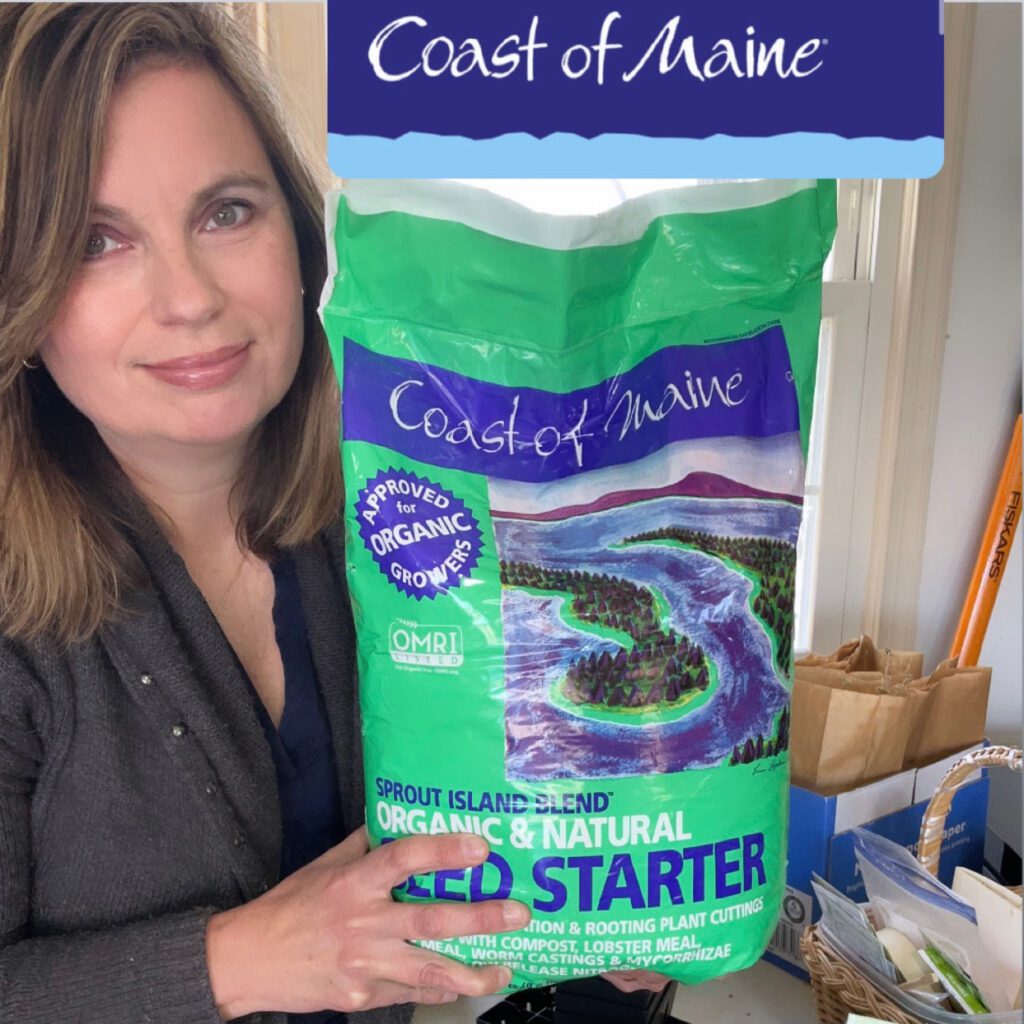
- seed starting mix
- water
- spray bottle for misting
- seed trays
- heat mat
- grow lights
Here are some of my favorite Epic Seed Starting Supplies or you can check out my curated Seed Starting list on Amazon
You can choose between Four Cell Seed Trays or 6 Cell Seed Trays and to make it easy for bottom watering you can use these 1020 Universal Flat Trays
Stage 2-Planting the Seeds
It’s important to remember that your seedlings will need to be potted up to larger pots before being planted out in the garden. Once they are potted up, they will still need time under the grow light. For this reason, it’s important to not sow more seeds than you have space under the grow lights.
- Label Trays with the plant type. I like to do this first, so I don’t forget.
- Dump seed starting mix into a big plastic dishpan. I add a few tablespoons of worm castings (optional). I then moisten the seed mix by pouring in about a cup or so of water. I stir until consistently damp, but not waterlogged.
- Fill the seed trays with the seed starting mix.
- Follow the seed pack for the recommended sowing depth and spacing for each type of seed.
- Place the seeds on the surface of the mix and gently press down if needed. I often use a chopstick to help me with this process.
- Cover and mist the seeds with a thin layer of seed starting mix according to seed packet instructions.
- Mist the surface with water to settle the mix and provide initial moisture.
- Cover trays with a plastic humidity dome or plastic wrap to create a mini greenhouse effect. This helps retain moisture and warmth.
- Place on heat mat. This encourages germination. I leave mine on about 12-16 hours and turn off when I go to bed. You can also use a timer for this.
- Monitor the moisture levels regularly. The mix should remain consistently moist, but not soggy. Mist if needed.
Stage 3-Germination
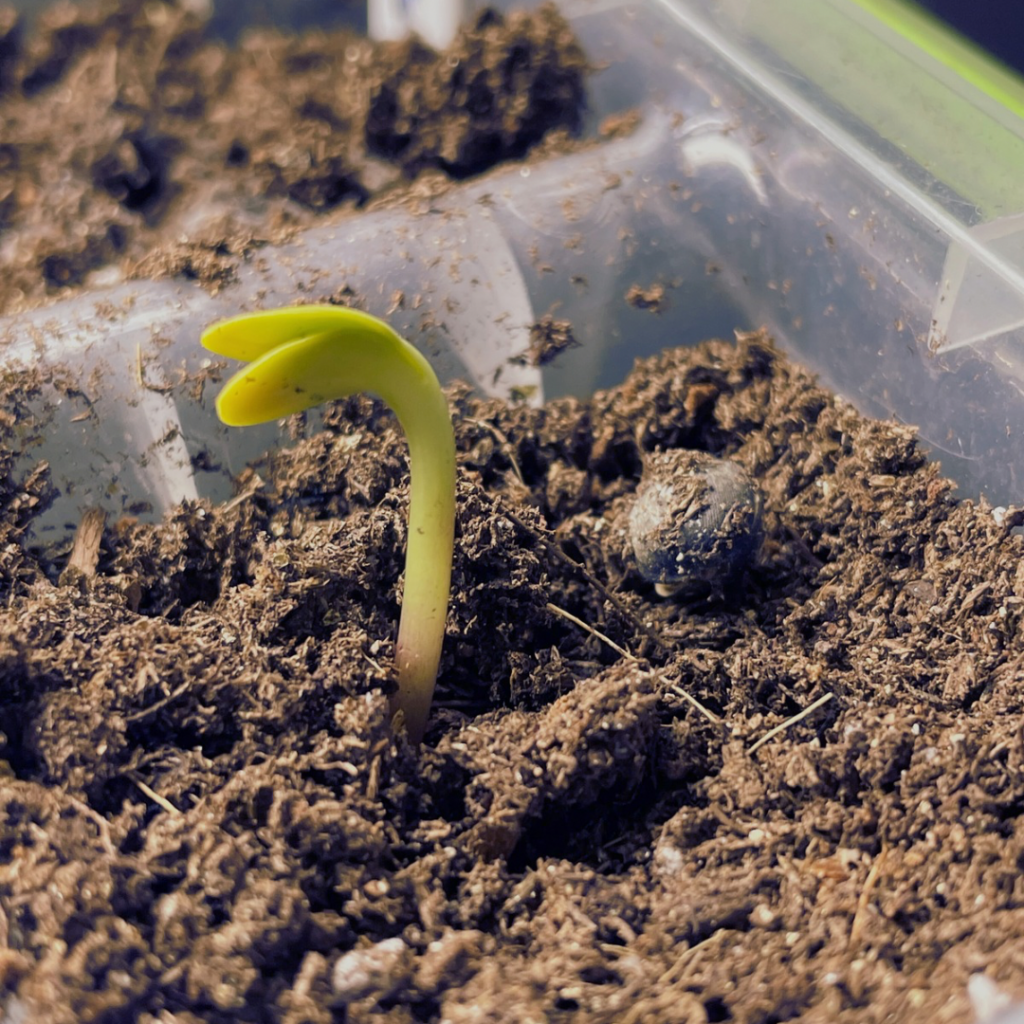
Most seeds take anywhere from 7-10 days to germinate. Once seedlings have sprouted it’s time to remove them from the heat mat and transition them underneath grow lights. I also take off the humidity dome cover or plastic wrap to improve air circulation.
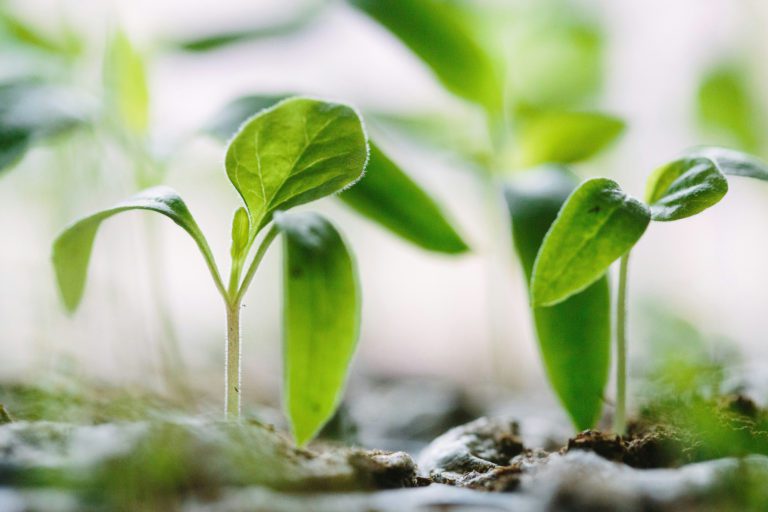
Stage 4-Initial Growth
This stage begins after the seeds have germinated. During this time, it’s important that the seedlings get plenty of light. This generally means the seedlings be about 3-6 inches from the grow lights around 12 hours a day. They also will need water during this time. I prefer bottom watering.
The seedlings will develop their first and consecutive true leaves at this stage and their seed leaves (called cotyledons) will turn yellow. This initial growth stage last anywhere from 2-3 weeks.
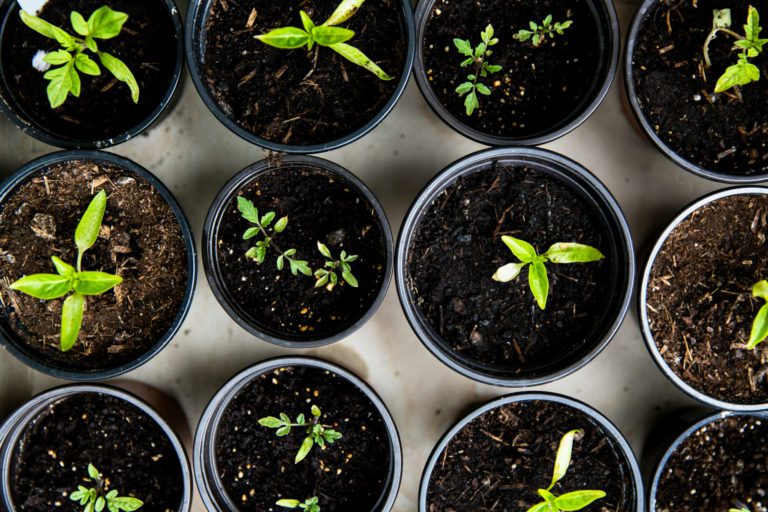
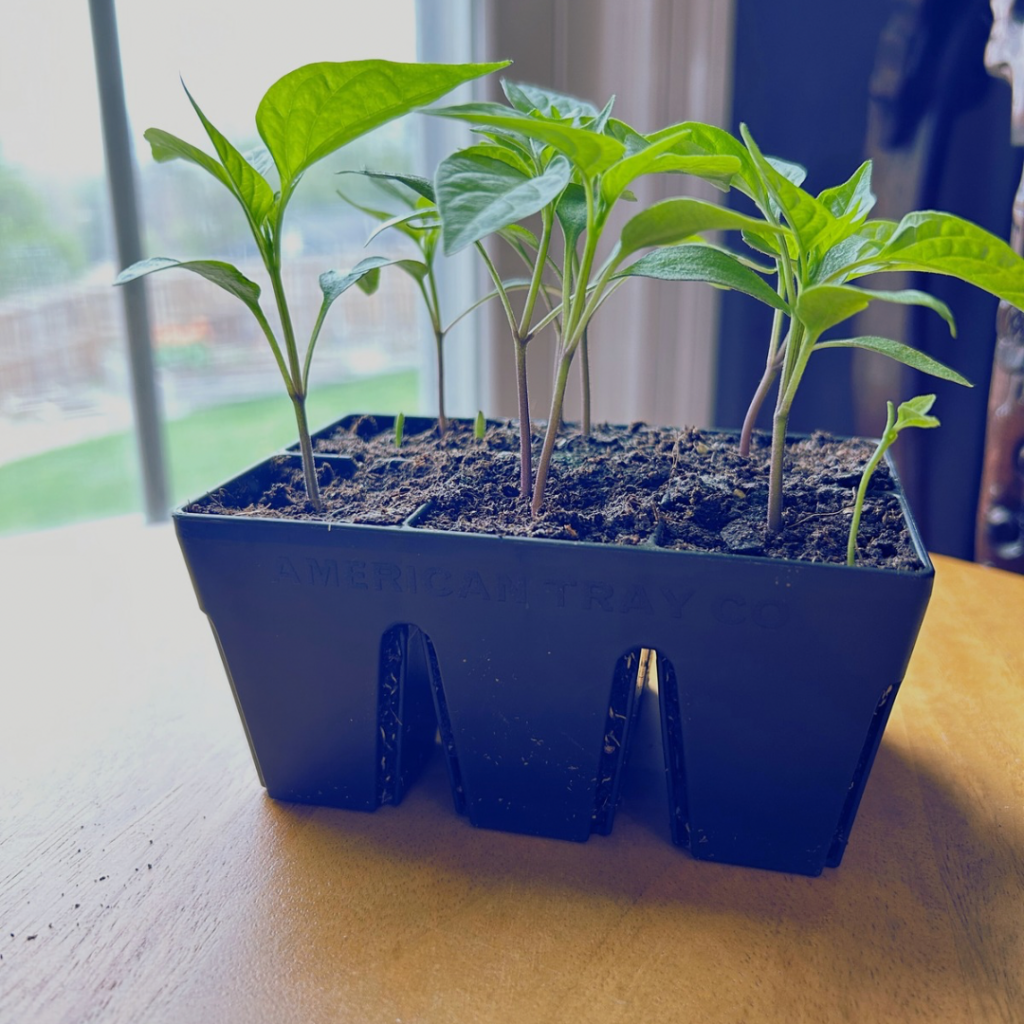
Stage 5-Potting Up

This stage involves transferring the seedlings from their original seed trays to a larger container before planting out in the garden. I usually pot up to 4 inch trays or larger.
A note regarding fertilizing: Fertilizing before the seedlings have grown their first set of true leaves is not recommended. True leaves look different than the cotyledon or seed leaves. Choose a mild fertilizer. Chose a mild fertilizer with a formulation like 10-10-10 or similar. Ensure it’s diluted to half or a quarter of the recommended strength or follow the fertilizer instruction for young seedlings.
*Fertilize once every two week or adjust to your needs, but DON’T over fertilize as it can be harmful to young seedlings. Water the seedlings with the diluted fertilizer solution applying to the soil rather on the foliage to prevent burning.
Stage 6-Hardening Off

It’s essential that indoor plants have a gradual acclimation to the outdoor environment for a period before planting out in garden. Learn details and tips of Hardening off seedlings in this post.
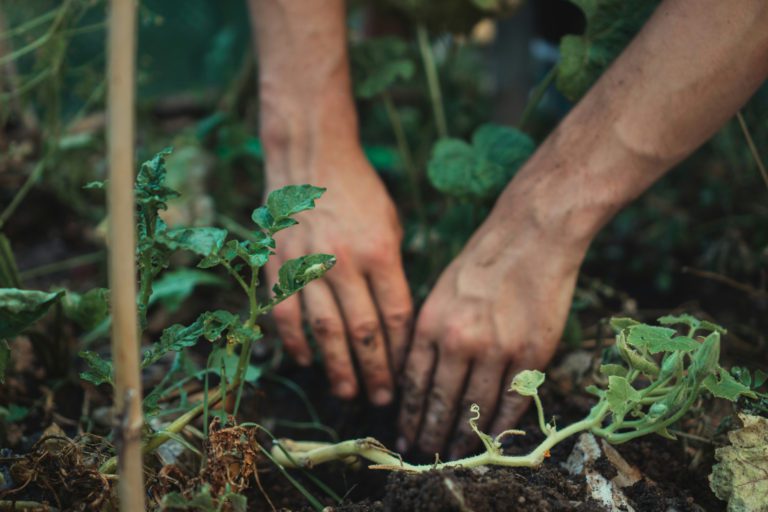
Stage 7 -Planting Out

Congratulations! It’s the big day! Proper timing of transplanting your seedlings in the garden is essential based on your weather forecast.
Here’s what to do they day of transplanting to the garden:
- Choose a day when the weather is mild and overcast if possible
- Early morning or late afternoon is often the best time, as it reduces stress on the plants from intense sunlight.
- Ensure that your garden bed is prepared with well-draining soil and remove any weeds or debris.
- Dig individual holes spacing them according to the size of the plants. The depth of the hole should be similar to the depth of the pots.
- Remove seedlings from pots by gently tapping the bottom and sides to loosen the seedlings. Carefully remove each seedling, holding it by the leaves to avoid damage to the stem.
- Place each seedling in its respective hole and backfill with soil. Press the soil gently around the base of seedling to secure it in place.
- Gently water the transplanted seedling immediately after planting to help settle the soil around the roots.
So Are You Ready to Start Seed Starting?
Save this guide so you can refer back to it as you begin your seed starting journey. Before you get started, take a moment to review the seven key stages we’ve covered to ensure you’re on the right track as you navigate your seed starting journey. Happy Seed Starting!
- preparing the supplies
- planting the seeds
- germination
- initial growth
- potting up
- hardening off
- planting out
While not fool proof, knowing the different stages of seed starting will help set you up for success!

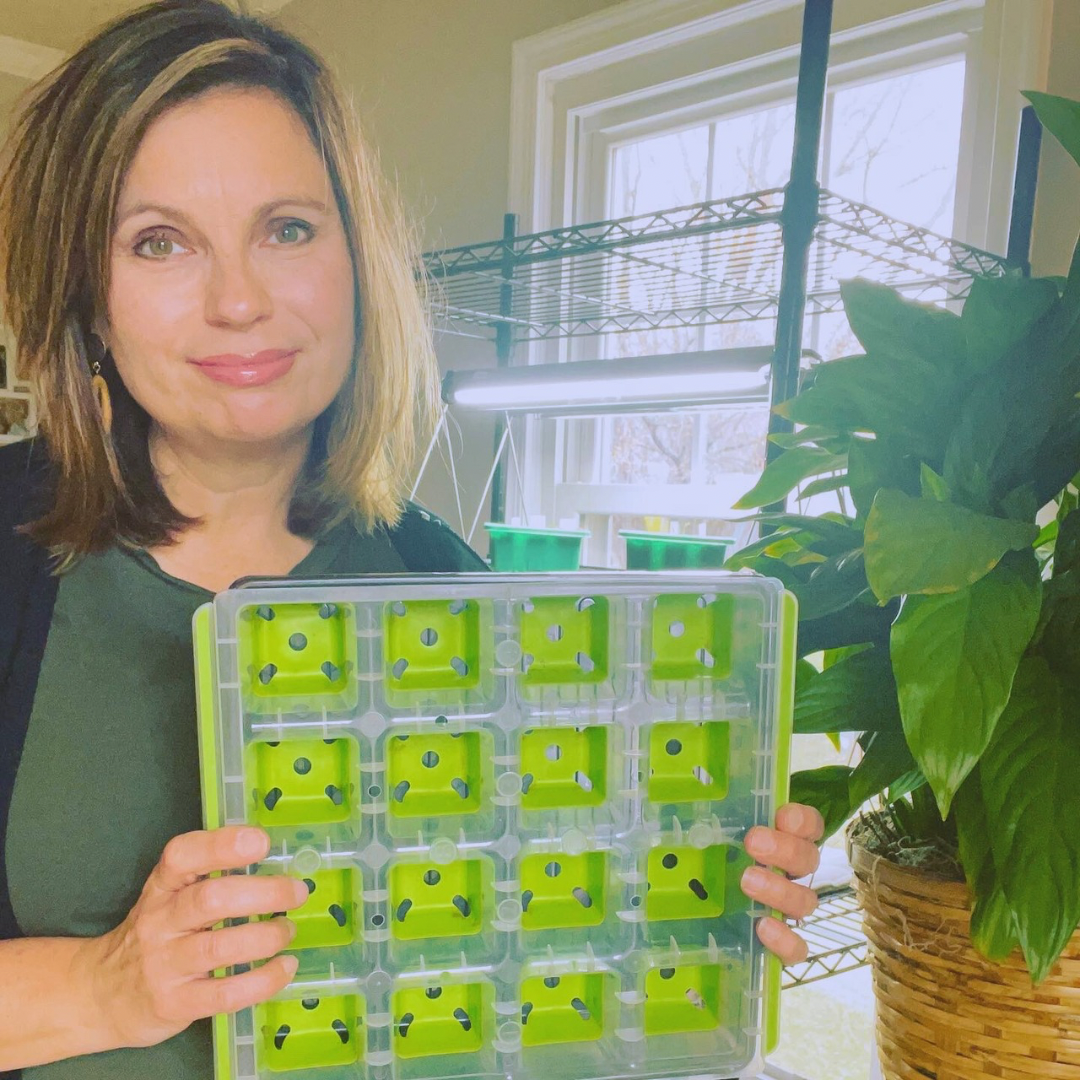
About the Author
Michelle is a self-taught kitchen gardener whose goal is to help everyone find resources, guidance, and inspiration to discover how fun and rewarding gardening can be.
Through her blog and social media, Michelle’s Garden Grows, she offers practical tips, educational content, and inspiration to support and encourage others on their gardening journeys.
With an RN, BSN degree, Michelle blends her faith and nursing background with gardening, showing how the garden can be a place of healing, growth, and renewal. You can learn more about Michelle’s Garden Grows here.