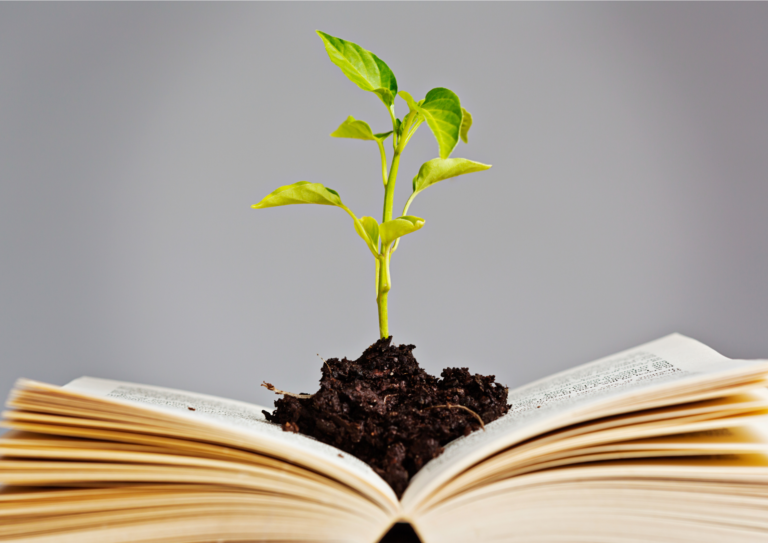


Seed Starting Indoors: 5 Essential Tips and Helpful Supplies to Set You Up for Success!

I started indoor seed starting my second year of gardening and oh my goodness, I was a bit overwhelmed at first. I’m thankful for a few friends who encouraged me along the way, and I’d like to do the same for you by sharing five things you’ll need to consider beforehand and essentials to get you started.
This post contains affiliate links. When you are shopping through my links, I potentially earn a small commission on your purchases, but there is no additional cost to you. Thank you so much for supporting my work here my shopping my links!
Know the Benefits of Starting Seeds Indoors
- You can grow a broader variety of plants not available at garden stores.
- More cost efficient
- You have total control over the entire germination and growing process
- You get a head start on the growing season
Know the Overview of the Whole Process
- Preparing your supplies
- Planting the seeds
- The germination stage
- The potting up stage
- Planting out stage
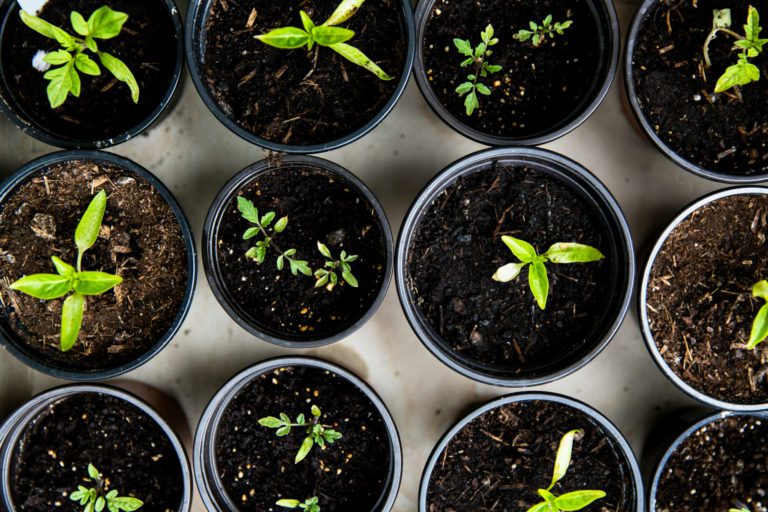
Know What Seeds You’re Going to Start
Some seeds do better direct sown and other’s do well getting a head start indoors. The seed packets will tell you if you if they do best direct sown. Here’s a list of the most common seeds that are sown indoors.
- Tomatoes
- Peppers
- Herbs: Parsley, Basil, Cilantro, Oregano, Rosemary, Sage, Dill, Thyme, Rosemary, Lavender,
- Broccoli
- Cauliflower
- Cabbage
- Lettuce
- Celery
- Kale
- onions
Know When to Start Your Seeds
It’s important to know your climate and last frost date. You can find yours here. Try not to only pay attention to what others are doing all over social media. We all have different climates and growing zones.
Some indoor seeds need started as early as 12 weeks before like onions and celery, and several herbs like rosemary and lavender while others only need 6-8 weeks indoors like tomatoes before planting out in the garden.
Know What Supplies are Most Essential
Here’s a list of the main things you need to get started.
- A grow light (very few can make it work on a sunny south facing window).
- A Heat Mat
- Seed Starding Mix
- Seed Starting trays with a humidity dome or a plastic wrap.
I stared with store bought seed trays and potted up into plastic solo cups and nursery seedling containers.
If you don’t want to invest in seedling trays at first you can try using stuff you have around the house like plastic yogurt containers, solo plastic cups, plastic produce containers or egg cartons (all doable, but have their challenges).
Just make sure you drill or poke drainage holes in the bottom!
Here’s a list of the supplies I use:
The Seed Trays I use:
4-Cell and 6 cell Trays with air pruning side slits
Epic 1020 Universal Bottom Tray (for bottom watering)
Burpee SuperSeed Seed Starting Tray
Greenhouse Seedling Tray Kit, 5 Pack
The Heat Mats I use:
Vivosun 2 Pack Durable Waterproof Seedling Heat Mat
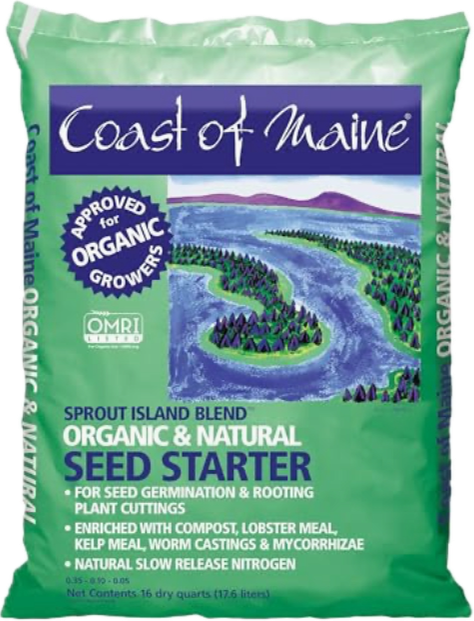
My Favorite Seed Starting Mix
Shelving I Use For Seed Starting Set Up
Amazon Basics 5-Shelf Adjustable, Heavy Duty Storage Shelving Unit
Grow Lights I use
The grow lights I started with and still use. This light stands above your seedlings and is adjustable.
The grow lights I stared with and still use. These are made to hang from the shelf.
Clip-on Fan
The clip-on fan I use for my grow shelf to help mimic the wind outside to strengthen my seedlings.
Ensuring Your Indoor Seed Starting Success
Successful indoor seed starting goes beyond buying a few packs of seeds; it’s about being prepared by having the right supplies, knowing which seeds to plant, when to plant and having an introductory understanding of each stage of the process.
Let me know if you’re a seed starting newbie, and if this was helpful or any questions!
Happy Seed Starting!