
Starting seeds indoors is a rewarding way to get a jump on your garden, but it can feel overwhelming for beginners. With the right approach, you can grow strong, healthy seedlings stress-free. Here are seven essential tips to set you up for success on starting seeds indoors.
For many beginner gardeners, the thought of starting plants from seeds can seem daunting. However, with the right guidance and a few essential tips, you can successfully grow your own plants from seed stress free. In this post, we will explore seven crucial tips to help you get started on your seed starting journey, making the process straightforward and enjoyable.
1. Understand the Seed Starting Process
Before you plant your first seed, familiarize yourself with the entire process. Knowing what supplies you need at each stage will set you up for success. Read my complete guide here.
2. Gather Essential Seed Starting Supplies
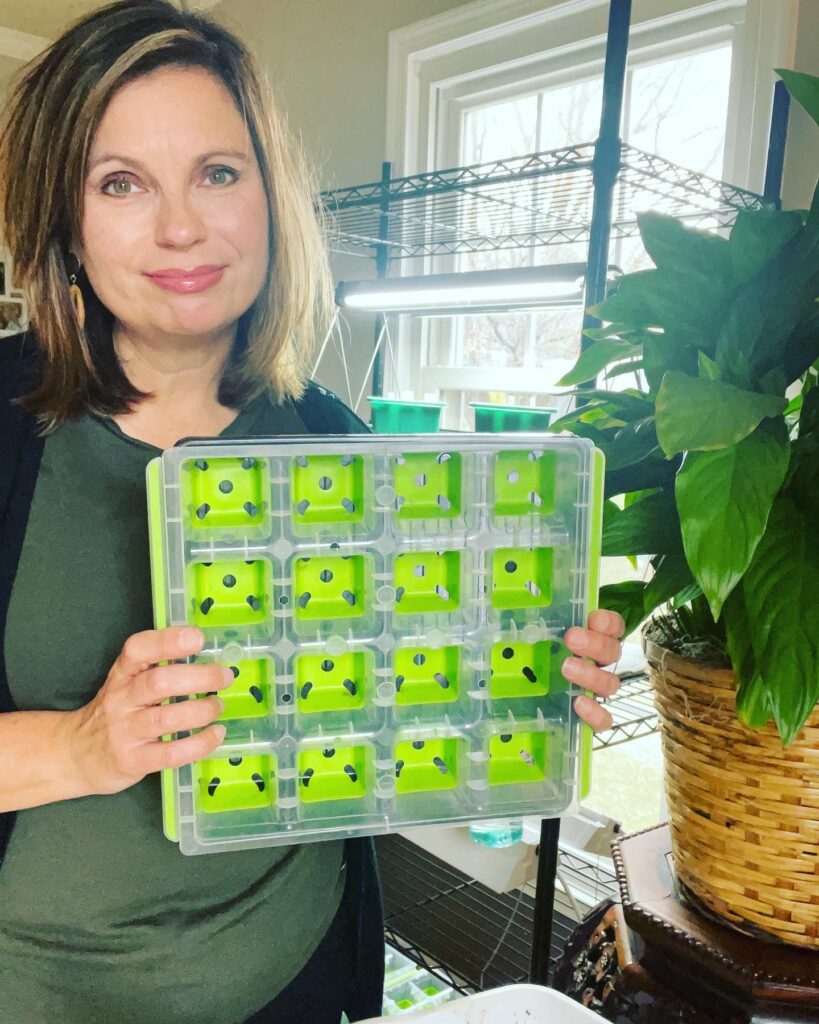
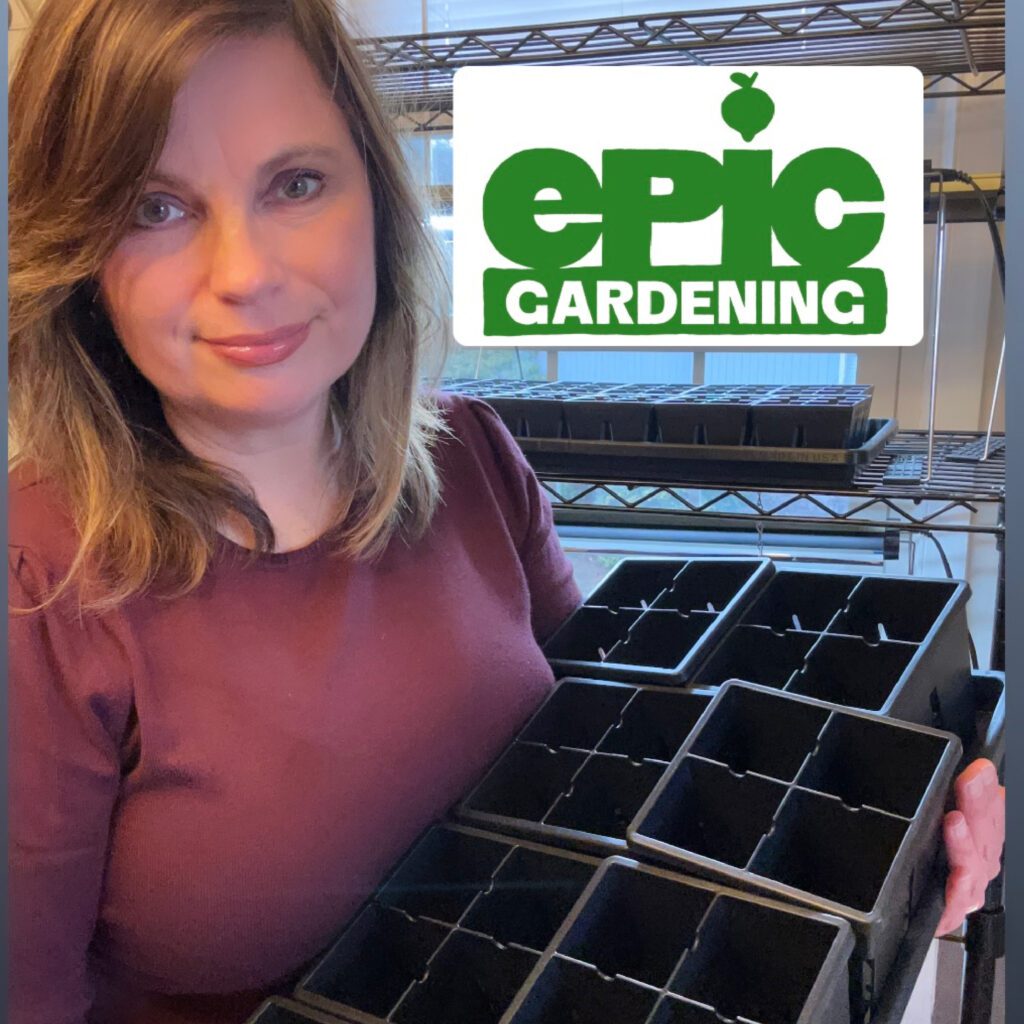
To give your seeds the best start, you’ll need quality supplies, including:
- Seed trays or containers
- Grow lights. While some gardeners succeed using a sunny window, grow lights and heat mats significantly improve germination rates. Check out my recommended supplies here.
- Heat mats (optional but recommended)
- Labels and markers
3. Choose the Right Seed Starting Mix
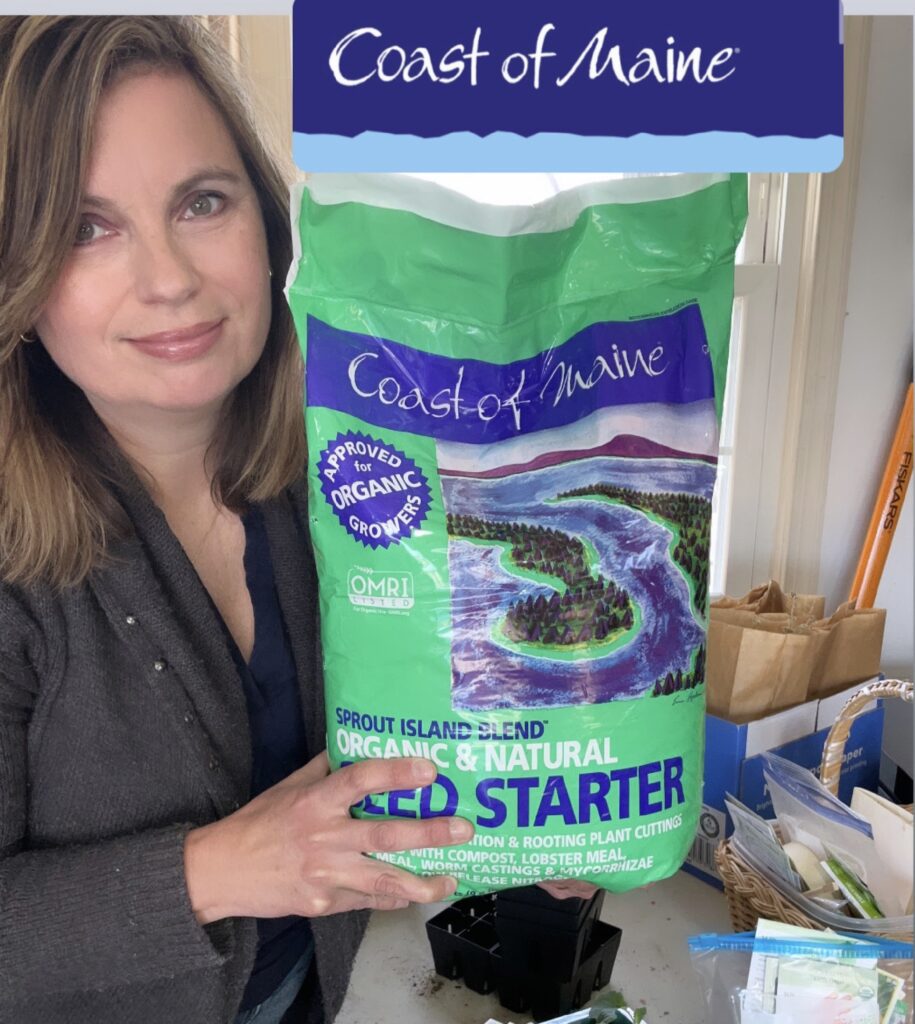
Use a well-draining, sterile, and fine-textured seed starting mix to promote optimal root development. I highly recommend the Coast of Maine Seed Starting Mix. Watch my review here!
4. Pre-Moisten Your Seed Starting Mix
Dry seed starting mix repels water, making it difficult to hydrate seeds without disturbing their placement. Pre-moistening ensures even moisture distribution for better germination.
5. Use Vermiculite to Prevent Issues (Optional)
A light sprinkle of vermiculite on top of your soil can help prevent fungus gnats and reduce the risk of damping off, a common seedling disease.
6. Water Immediately After Sowing
After planting, water gently to ensure good soil contact and initiate the seed coat-breaking process. Avoid overwatering, which can lead to mold and rot.
7. Use a Humidity Dome for Germination

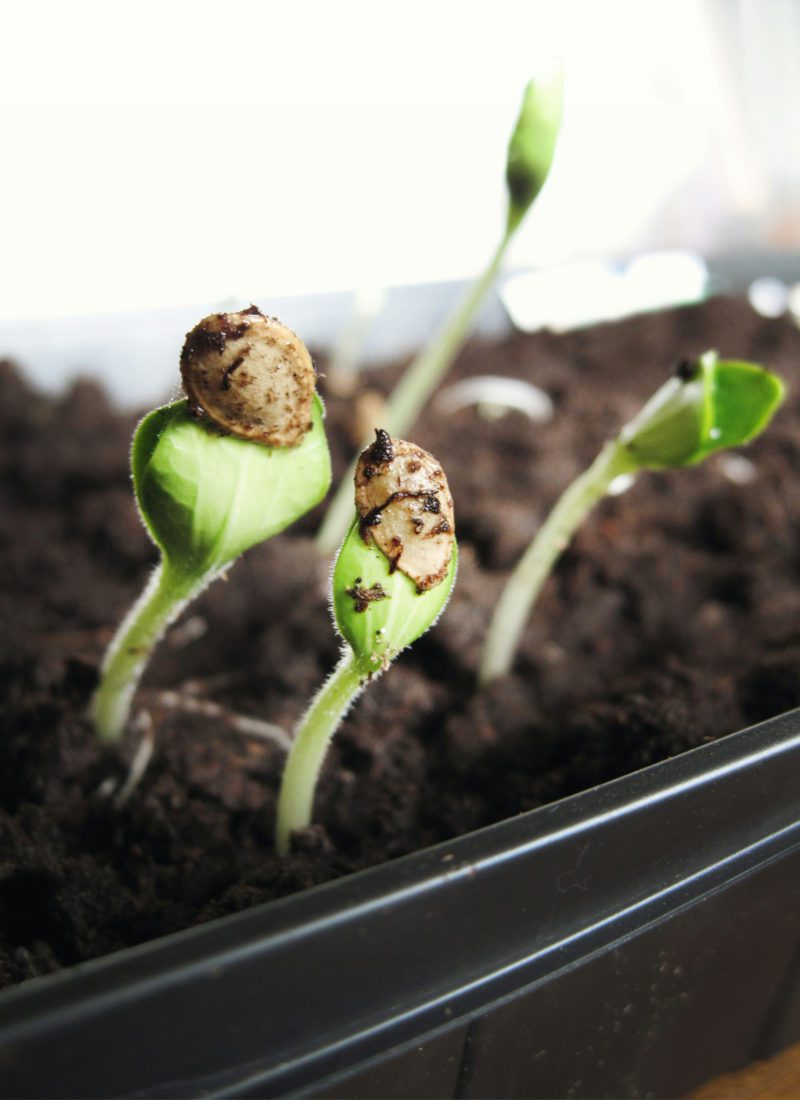
A humidity dome or plastic wrap traps moisture and heat, creating an ideal environment for sprouting seeds. Once most of your seeds have germinated, remove the cover to prevent excessive humidity. If you don’t have a humidity dome, you can use everyday household items to create a similar effect like:
- Plastic Wrap – Loosely cover your seed tray with plastic wrap to trap moisture. Be sure to remove it once most seeds have sprouted.
- Clear Plastic Lids – Repurpose clear lids from takeout containers or storage bins to create a mini greenhouse effect.
- Plastic Bags – Place individual pots inside a ziplock or grocery bag and loosely seal it to maintain humidity.
- Upside-Down Clear Storage Bin – If starting multiple trays, place them inside a clear storage bin with the lid on to hold in moisture.
Final Thoughts
By following these seven key steps, you’ll create the perfect environment for healthy seedlings.
Ready to take your seed starting skills to the next level? Check out my full guide👉 Read the full guide here!
Michelle’s Garden Grows
Michelle is a backyard kitchen gardener, content creator, and RN, BSN by trade. Her goal is to bring you one step closer to the garden and the nature-inspired lifestyle you are searching for.
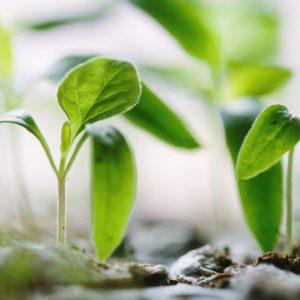
Featured image photo by Markus Spiske on Unsplash

Leave a Reply
You must be logged in to post a comment.